My husband and I, born of an era when music and art tried to make sense out of a senseless world, have always had a special fondness for a special Thanksgiving more than 40 years ago. You know the one, it happened at a restaurant, when a couple of well meaning dinner guests tried to help their friend Alice clean out the old church that housed the restaurant, and found to their dismay the dump was closed on Thanksgiving. It isn’t unusual for my husband to find some rock station on Thanksgiving day, play the 18 minute Arlo Guthrie musical feast and happily listen, singing along about the 8×10 color glossies and Group W bench. We’ve seen Arlo Guthrie perform in concert many times over the years, and even took the kids and attended the 40th anniversary tour of Alice’s Restaurant Massacre at Carnegie Hall a couple of years ago.
So it was with great fondness that we started on our own Massacre, of the debris that has accumulated in our oversized two car garage that no car has parked in for the last four years. I remember the date well, I had to move my mother in law out of her apartment in Connecticut, and put her into a nursing home in my town in NJ, by myself, because my husband was working in India for 4 months. I brought her belongings by the truck load and stuck them in my garage. I eventually worked through all of her belongings, she died in 2006, but once I gave up my parking bay, I was never able to reclaim it.
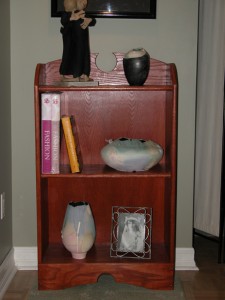
Fast forward, we have quite the woodworking equipment in the garage, under so much debris it is impossible to actually use it. My daughter adores woodworking and is thrilled to discover a complete woodworking studio just within reach, but for a little cleaning….
So we set out to begin the messy task of cleaning out the trash and junk, and organizing the buckets of tools and bins, and of course, knowing the dump was closed on Thanksgiving, we waited until Friday. And the dump was still closed. So, my husband is out with the truck, dumping the worst of the recycling, and I am sitting in my studio where it is warm and happy, blogging. I think that’s a good deal.
I haven’t felt well for the last couple days, too much discussion of swine flu and an over active imagination makes me think I’m already infected, but the symptoms are vague, and I’m probably just fighting off a cold. I put away all the warping equipment, I’m finished winding white warps for dyeing, for now, and I’m really itching to just sit down and make something. Something for me. I am jealous of knitters who grab a ball of yarn and whip out something, the only equipment where I can do that easily is….
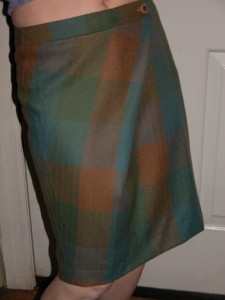
It has sat idle too long and I needed to keep my fingers moving and just make something. I subscribe to Burda World of Fashion Magazine, it comes monthly, (actually it is a holiday gift every year from my mom, that wonderful woman who taught me to sew), and I perused through the latest issue, and found a pattern for a simple skirt that had a bias fold over of cloth, and I looked up at the wool plaid skirt panels my husband brought me back from his trip to Ireland in 2008, and and an idea was born.
I blogged about these wool plaid panels from Avoca Handweavers, back in 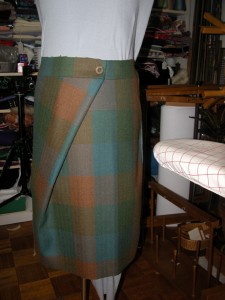 December of last year. It was one of my first blog posts.
So, I traced off the pattern, basted it together, tried it on, and cut out the fabric. By bedtime last night, I had the skirt mostly together, tried it on, needed to take it in a bit, course I’ll probably have to take it in a bit more over time, because, what was I thinking!… Making a skirt the day after Thanksgiving is pretty lame…
But that didn’t stop me. For insurance, I only basted the side seams together, and since this doesn’t have a zipper closing, taking it in is a breeze.
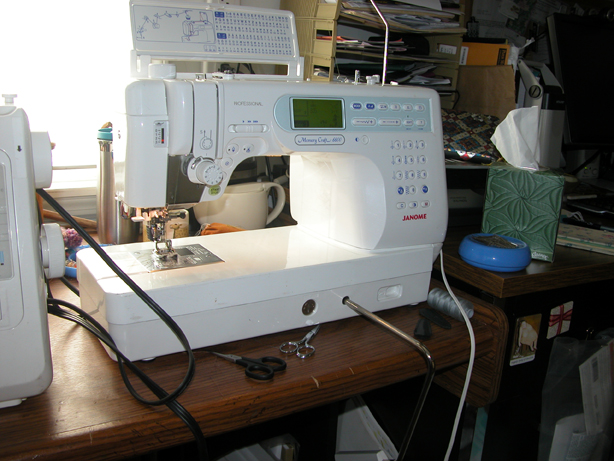
The skirt went together easily, and I remembered why of all the fiber techniques I do, I love sewing the best. Handweaving gets you cool cloth to sew, but the machine and I are the best of friends. I have a Janome 6600 Professional, which I absolutely adore, especially the quick basting stitch that bastes things together like hems, and pulls out in about 3 seconds. This machine also has a dual feed foot built in so matching plaids is also a breeze. And of course there is nothing like working with a gorgeous wool.
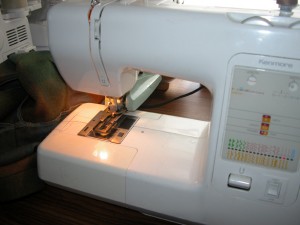
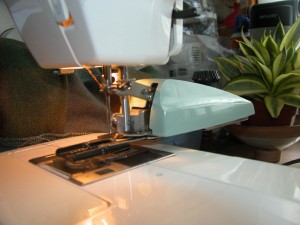
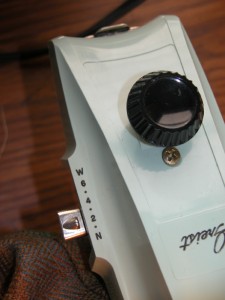
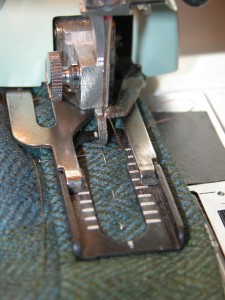
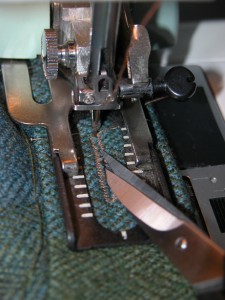
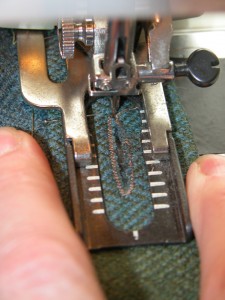
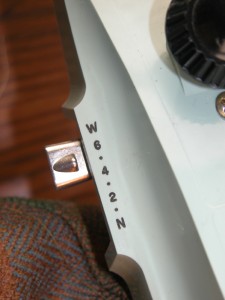
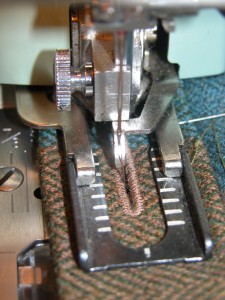
I got to the closure, which consists of three horizontal buttonholes in the waist band, which folds over itself, and secures with a couple of well placed buttons. I am a buttonhole snob. I admit it, ask anyone who has ever taken a class with me on Closures. I have this very pricey top of the line machine from Janome that I adore, but for this task, out came my dusty trusty little Kenmore, about 15 years old (coincidentally made by Janome as well), and because it is a short shank machine, my very old Greist buttonholer will fit on the shank, I drop the feed dogs, pop in the correct buttonhole cam, and watch it make gorgeous perfect buttonholes every time.
I’ve also gotten good at taking an extra step to make sure the buttonhole doesn’t look like a wound in the fabric. I shot a sequence of making a buttonhole with the Greist buttonholer attachment, so I’ll let the photos do the talking…
