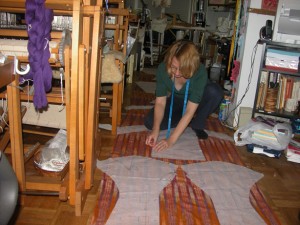
Well I made the first cut, there is no turning back at this point, I’m committed to this project. And I’m loving it so far, every step of the way. OK, to be fair, I didn’t like crawling on the floor cutting this puppy out for a couple of hours. My age is creeping up on me, and I can’t crawl around on the floor like I use to. Bummer…
Let me back up…
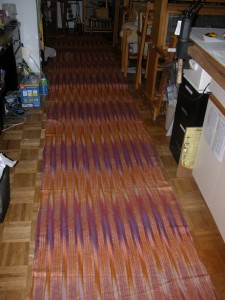
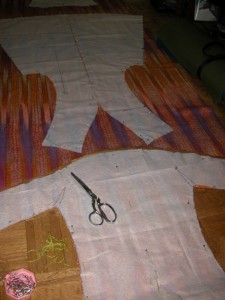
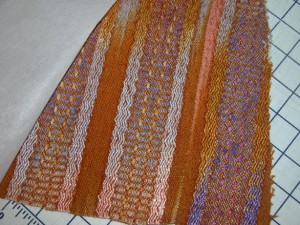
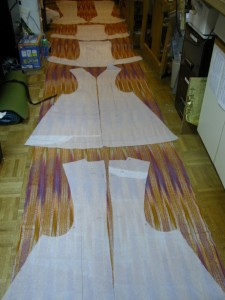 First, I had to take my lovely six yards of handdyed/handwoven fabric and lay it out across the floor in its entirety so I could see what I was working with. This was no small task. I had to push everything in the studio out of the way, so I could get an uninterrupted 36″ wide x 6 yards of fabric. Those looms are heavy. I carefully laid out my fabric, which is yet unnamed, I’m working on a title, and then placed the pattern pieces so I’d get an idea of where the colorations would occur. I moved things around, tried different layouts, and worked pretty much all night.
When I was satisfied with what I had, I pinned everything on, and then I cut…
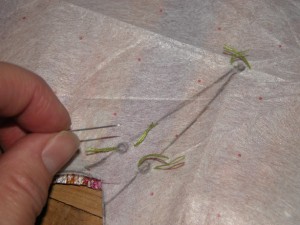 I always layout handwoven fabric singly; it is really important I know what every single warp and weft is doing at all times. With singly cut fabric, the tailor’s tacks are a breeze, just in and out, and the markings are all transferred.
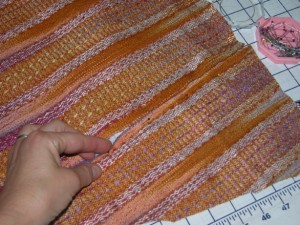
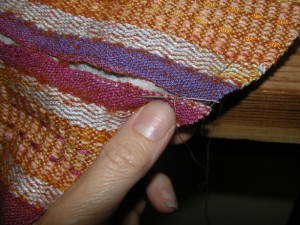
Course, the fabric isn’t technically wide enough. I wanted the fronts next to each other for color consistency, and the backs next to each other, etc. But the pattern pieces are so wide, they didn’t actually fit. So I decided to do my special technique called Selvedge Abutment. Basically I look for another selvedge that looks similar in coloration and I cut a hunk and pin it next to the existing selvedge of the fabric, and then I sew the two selvedges together carefully by hand, butting them together. It works like a charm, when the fabric is steamed, the join is really invisible, and since it is near the hem, or other inconspicuous place, no one will be the wiser.
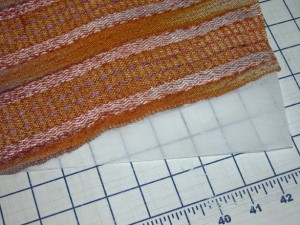
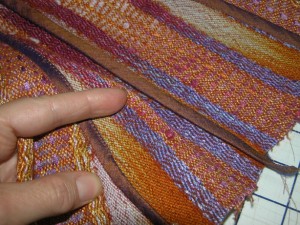
Next stop while I’m spending hours stitching all the selvedges together, is thinking about how I’m going to construct the seams. If you scroll down to my previous post, you’ll see that I talked about the seam finish designed by Issey Miyake in this garment, which called for cutting off the seam allowance on one of the pieces, and placing the cut edge on the seamline of the adjacent piece. Then zig-zag. I think not…
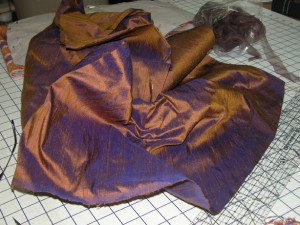
I did a stash root, my favorite thing to do, and I found the most spectacular piece of dupioni silk in an irridescent color, fading from gold to purple. It doesn’t get any better than that. I played around with bias strips, binding off the edges of the piece where I cut off the seam allowance. I think I have something that will work and define the beautiful design lines of this coat/dress. Stay tuned…
Loving every moment of your creative process that you care to share with us. I’m looking forward to seeing how it all comes together. Thank-you for taking the time to share your work it really stirs my heart to see beauty unfold in this way.
So with all these other necessary projects fighting for attention you fire up for action by doing what? Starting a major sewing project,of course, which as you work out the patterns .allows you to get your thoughts congealed for your writing assignments. Absolutely beautiful handwoven and it will be spectacular made up. You truly are a peice of coal made good under pressure…..a diamond.
I love that every picture of your procedure is labeled when I move my “mouse”. Computer savy. I am attempting another vest and have gone back to your instructions for guidance and inspiration. Thank you.
Gorgeous…love the dupioni. This is going to be spectacular.
Thank you for sharing! Very inspiring to watch this come together.
This coat is going to be fabulous. Thanks for sharing the process and the great photos.
It gets even better! Exciting to follow.
Love it, will you do the dart or put in a gussit?
The “dart” is actually the area that gets clipped open to accommodate the gusset. It is the most bizarre of designs, and I’m having a blast trying to figure it all out.