Perseverance. It is a wonderful thing.
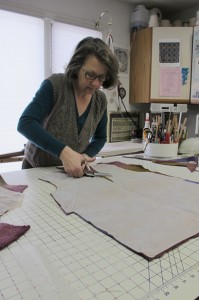
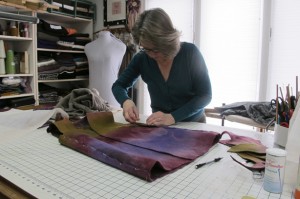
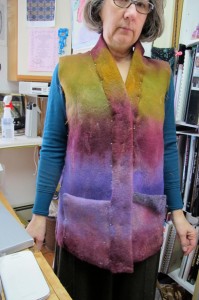
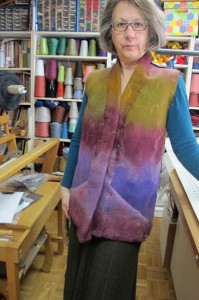
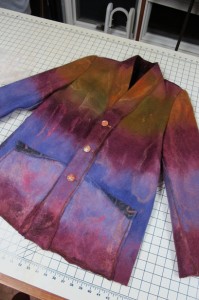
So last Wednesday I bit the bullet, mostly because I had my lovely intern Jen here and I wanted her to see me in action. I finally took the felt panels that have been pinned to my dressform for weeks, and cut them out. I have no problem cutting handwoven fabric. I’ve chopped into thousands of yards of fabric. But cutting this felt was painful.
For those just tuning in, you can read about felting the panels here.
Anyway, I wanted to take advantage of the natural edge of the felt, so no finishing of hems and I could actually overlap seams. There would still be a cut edge on the inside but I’d deal with that later. The layout was tricky.
The whole point of this felted jacket was to make a sample of my now infamous Daryl Jacket, the jacket pattern I use for all my garment construction classes. I teach a lot of five day intensives around the country, see the list here, (check out the one in Asheville, NC in May, it is gorgeous there and we have such a blast) and it is highly likely that I’ll have at least one felter in the class, and since everyone who starts garment construction classes with me gets to make a Daryl Jacket, it made sense to have a sample. (Note: Garment construction classes are open to anyone who wants to sew clothing, whether you weave, felt or just like to buy cloth from the fabric store. All levels are welcome, even beginners)
Did I enjoy making felt panels? Only the first one. Along about panel three I almost quit. I am not a felter. I don’t want to be a felter. But damn I had the best time sewing these felted panels because I could do the coolest edge and seam finishes that I couldn’t do with regular woven fabric. So I’m rethinking my dislike of felting…
I digress…
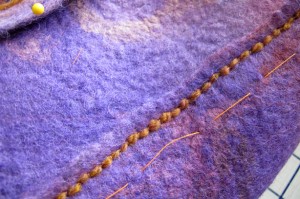
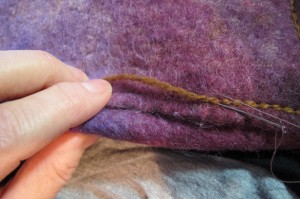
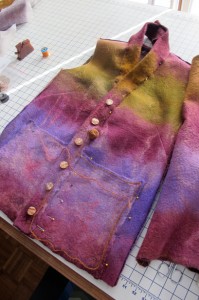
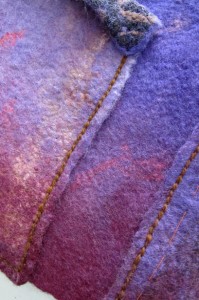
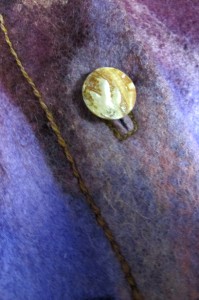
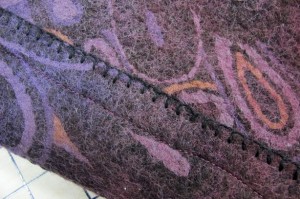
I sewed the fronts and backs together, first with a machine stitch and then hand couching a handspun yarn to cover the machine thread. I spun the two ply yarn from the leftover fibers I didn’t use for the felted panels. Pretty cool.
Then came the pockets. The problem with the pockets is that I saved them for last during the felting process. And the huge ball of roving I had purchased with this lovely periwinkle blue turned out to not have any periwinkle blue down inside. So scraping together bits and scraps I was able to make two pockets but I didn’t like them at all. They were too light.
I tried to fold them down.
I tried to fold them a different way.
I tried going without pockets. Since this is a class sample and it is pretty cool to be able to just make a pocket with finished edges and attach to the jacket, I thought it was important that they be there. Plus I hate jackets without pockets. I’m like that. I also tried turning the pocket so the burgundy color was dominant.
I tried to see what would happen if I just couched the heck out of them with the handspun yarn.
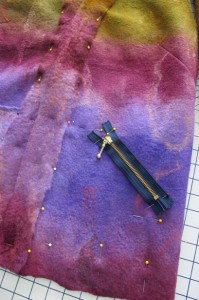
I even tried a zipper with the pocket behind it.
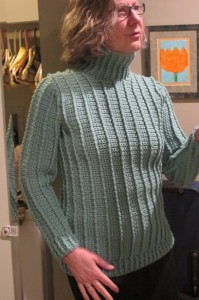
I slept on the situation and then Friday morning I woke up and tossed both pockets in the washer and dryer on hot. They shrunk a lot more. Then I left for the weekend to visit old friends in the Berkshires. Had a fantastic time by the way. Got to visit with my daughter as well. She crocheted a sweater and didn’t do a gauge check first. It doesn’t fit her. But I could squeeze into it. Score!
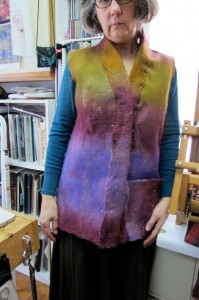
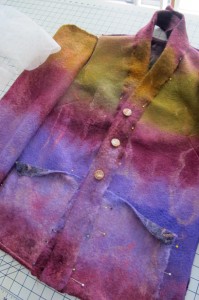
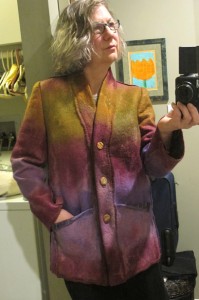
Monday morning I made a decision. I put the now smaller pockets on the front of the jacket, couched them on and turned the upper outside edge down, just a bit, to help give them a little shape. Just the tip of the inside shows.
And so I carefully constructed the rest of the jacket, adding the sleeves, trying the jacket on every 45 seconds to check the fit and see if it worked.
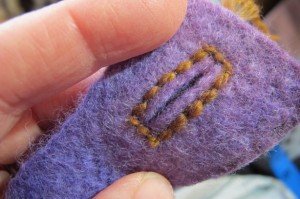
Meanwhile I had to figure out buttonholes. Since you can just slice into felt and it doesn’t ravel, this was a no brainer, and couching around the buttonholes seemed like the logical thing to do. I love them. I could write a whole blog post on the button issue, but I’m happy with what I settled on, three abalone buttons from Tender Button in NYC.
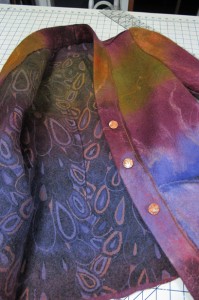
The inside of course is this wild print silk chiffon I picked up at Thai Silks last February, while I was teaching in California. And I used Merino yarn to create a finished edge with a blanket stitch on the inside seams.
And now I not only have a Daryl Jacket in felt, I actually adore it and can’t wait for this stupid winter to be over and be able to wear a cool spring jacket. It snowed again today. I can’t…
Stay tuned…
I am so thrilled to see the felt jacket! You persevered and the jacket is quite lovely. Don’t you just love to sew with hand made felt?
This looks awesome! Thank you for posting.
Your color work of course is splendid and a fine job you did with the pockets and button holes. But I just loved your expressions in those photos–wow. Thanks for your blogs I learn a lot.
Very nice. Great colors. Felt = Fun!
Looks comfy!
I love the pocket solution in the end. It really enhances the shape of the jacket and does not compete for attention.
Great. Looking forward to seeing it in person when you are at Sutherland Handweaving in Asheville for your May workshop!
Thanks for including your thought processes. Spring jacket or Winter sweater? Looks great.
Love it! Great colors. Looks really comfortable.
OK, I was laughing at the look on your face as you tried each iteration of pockets but that last one did it! perfect! And yes, that jacket looks SO comfy. Great job!!
Nice jacket, just wanted to let you know that Waechters in Asheville, NC is going out of business and I know how you liked their fabric, check out their website! 33%off of everything. http://www.waechters.com/
I love the jacket. You looked so unhappy with some of the pocket solutions in your pictures but now itis done!
I look forwar to seeing you at CNCH 2014. I am taking one of your classes.
Having seen this gorgeous jacket in person today, I loved reading about the pockets. Of course, they turned out great.