Weavers know that the set up of a loom is the same for one yard or for 10. Most weavers would never weave one dishtowel, or one scarf. There is loom waste, which divided over multiple projects is much less than for just one. And threading 2000 ends is the same for one project or for multiples.
Garment construction is actually not unlike this phenomenon. I often have a student moan that they spent days perfecting the pattern, multiple muslins, and by the time they actually get to making the garment, the construction process goes by in a flash. I know working out a pattern to make it fit is a pretty critical part of making a garment, just like all those hours threading 2000 ends is a pretty critical part of weaving cloth. One doesn’t happen without the other. Weaving is more than throwing a shuttle, and making garments is more than just running up a seam on a sewing machine.
So when I spend a lot of energy working out a pattern to get it to fit, there is no reason why I can’t make it up over and over again, to amortize if you will, the effort involved in getting the pattern right.
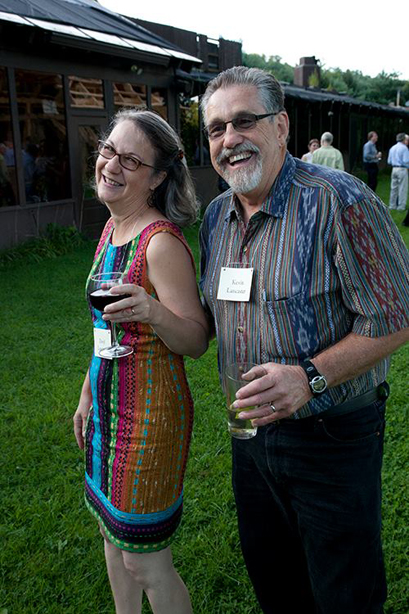
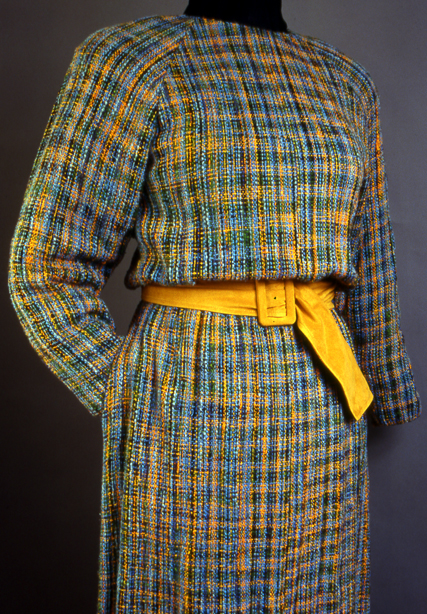
Case in point… This top was made from Butterick 5147. I made it for the holidays back in December 2011.
I reworked the pattern for the top and made it into a dress, and added the lower band for this handwoven dress.
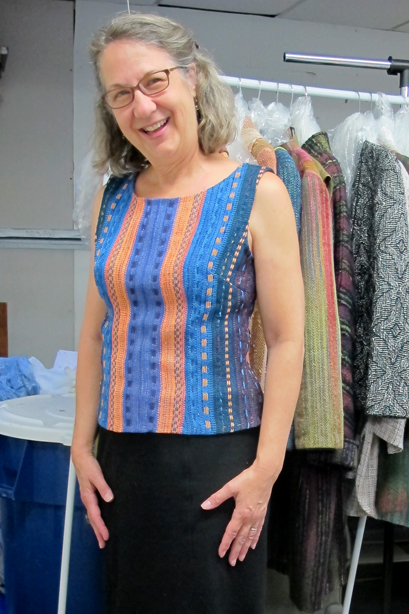
I took the dress part off, and re-used the top pattern for the handwoven top I made last week.
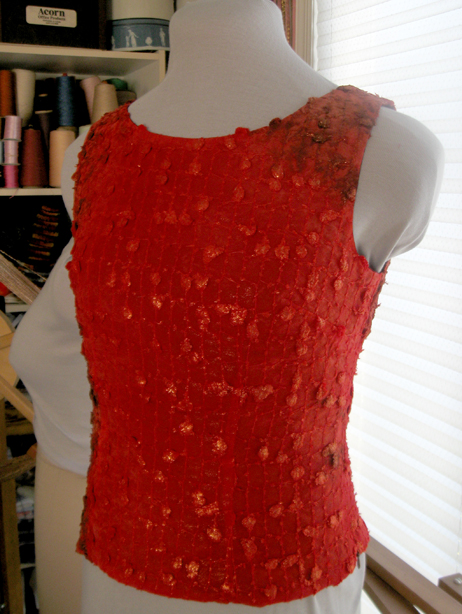
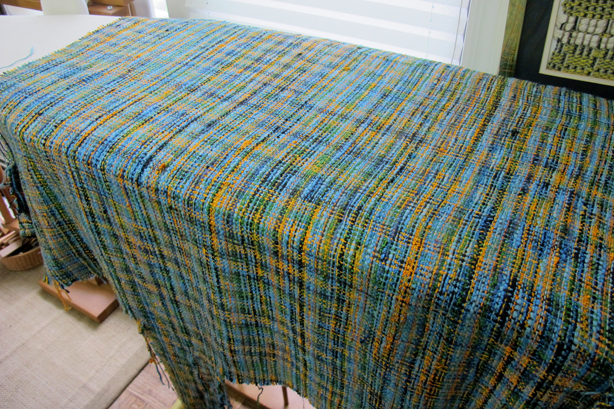
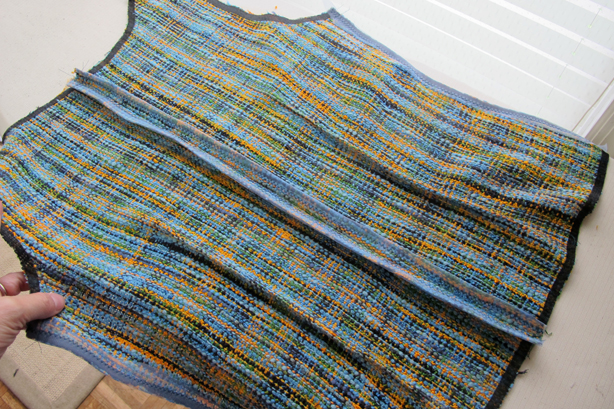
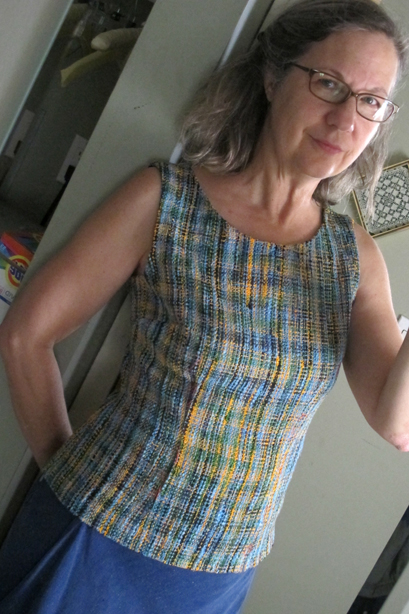
And so, while I was in the attic looking for something else, I came across about a yard and a half of this fabric, tucked in one of the scrap bins. I had no idea it was there, and it was the perfect amount for yet another top. The pattern for the top is a simple style that adapts to just about anything. One can’t have enough in their wardrobe. And I have so few actually handwoven tops. The yarn is all from Silk City Fibers, (back in the 80’s when I had a wholesale account with them) and the structure is simply plain weave at 12 epi.
The fabric was the end of the run from somewhere around 1986, during my craft fair days, when I would weave 30 yards at a time, and make the fabric into all sorts of silhouettes. Like this one…
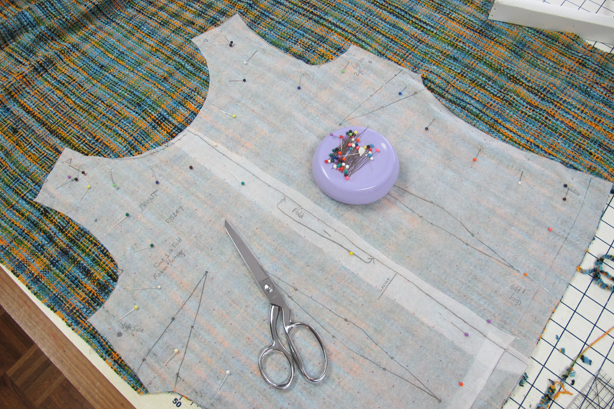
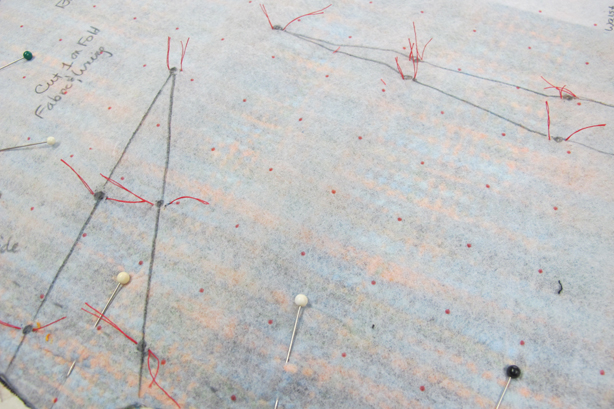
First I made a second copy of the pattern on Red Dot Tracer so I could cut one front without a fold, and cut two backs. I pinned the pattern on with the pins perpendicular to the cutting line, which is a huge no-no, but I had a reason.
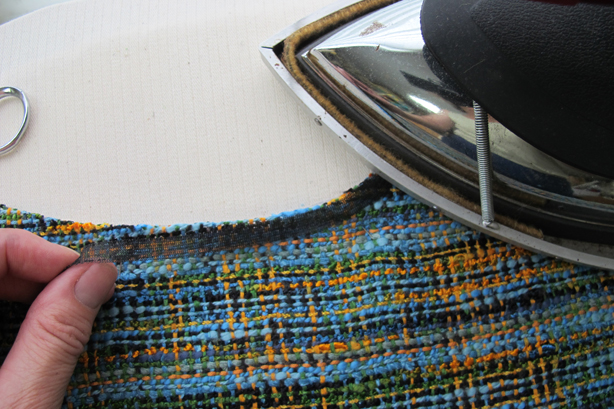
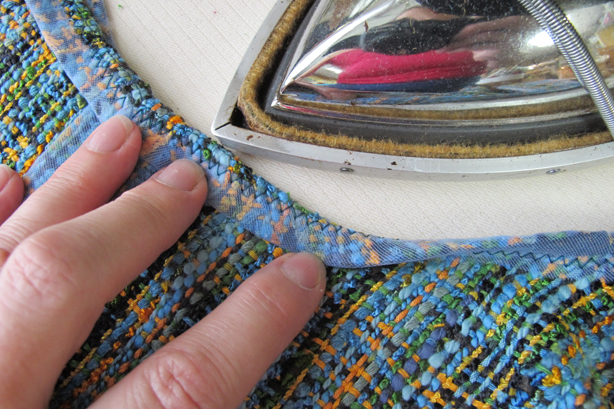
Because this fabric is very very sleazy, that is seriously undersett for a handwoven fabric destined for a garment (because back in 1986 I didn’t know any better, I hadn’t taken a class with me yet…), I decided to stabilize the edges, because the fabric would be so ravelly. I didn’t want to back the entire fabric because it would change the hand and I wanted a loose easy top. I cut 3/8″ crosswise strips of fusible poly tricot. They are flexible and work really well to stabilize curves.
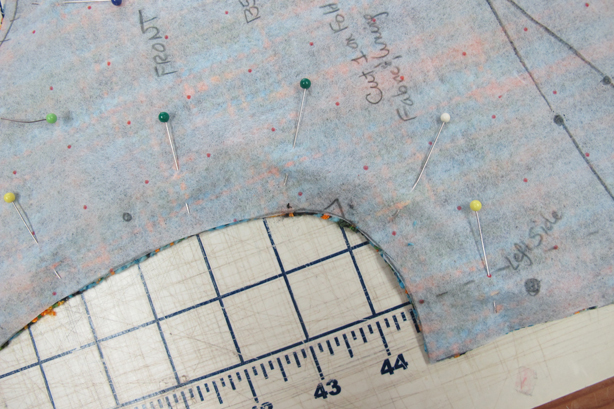
I did this while the pattern was still attached to the garment section. That ensured that all the edges remained true to the pattern shape. To be able to apply the fusible to the edges, there can’t be parallel pins in the way.

I added the tailor’s tacks.
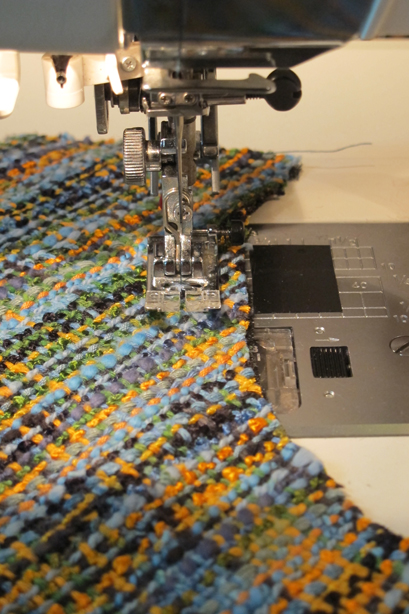
Stay stitching the neck and armhole edges is really really important here. I sewed with the grain, close to the seamline. I made sure there was still no distortion in the neck or armhole edges.
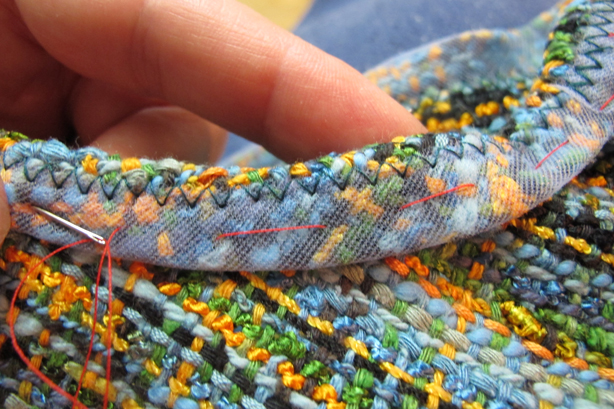
I applied 1 1/4″ bias cut strips of nylon tricot, wrapping them around the cut edges of the shoulder and side seam allowances. This protected the full seam allowance and made a weightless non bulky finish, perfect on a top.

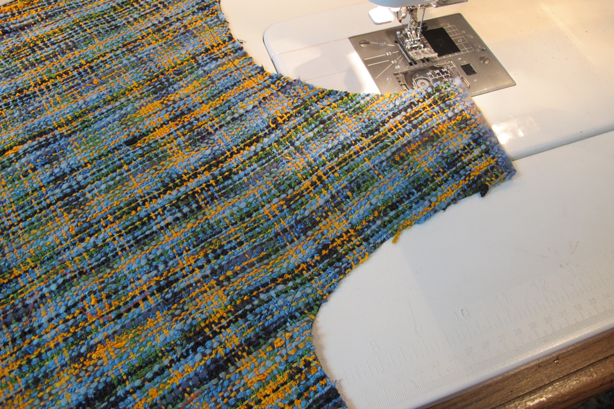
Once the darts and center back seam were sewn, I gave it a good pressing.
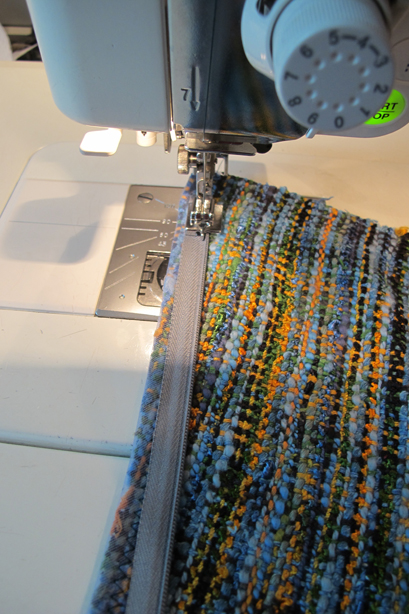
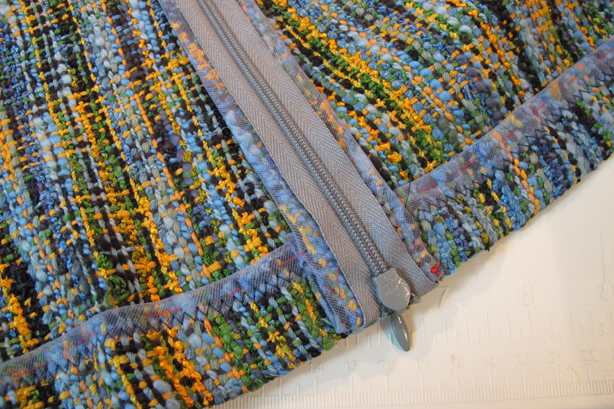
Then I attached the invisible zipper. These are pretty mindless, easy to insert, and completely invisible. No pinning or basting necessary. Perfect for a side zipper on a dress or top. Just don’t wear anything with a side zipper through a back scatter machine in the airport. The TSA aren’t trained to recognize side zippers in women’s garments.

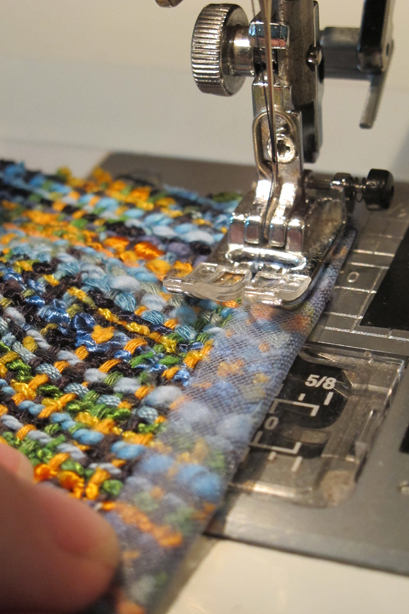
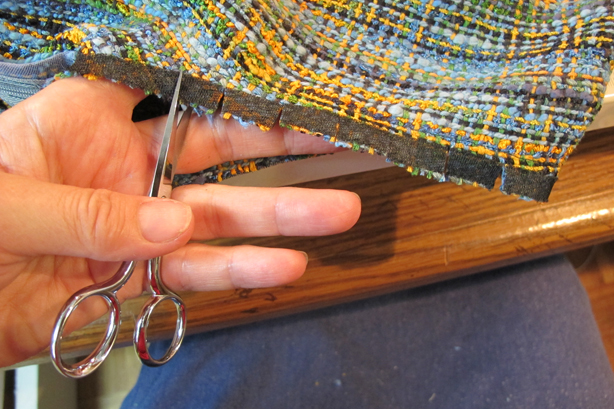
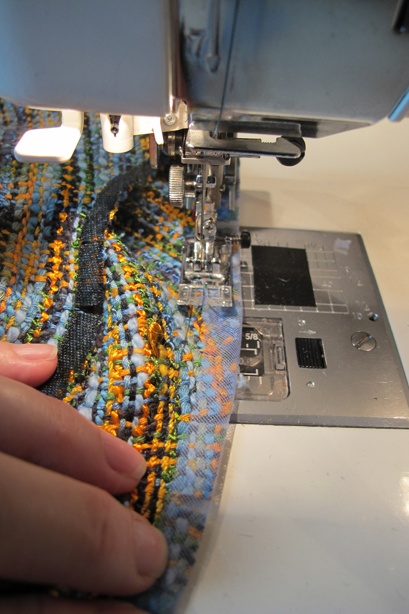
Once the top was sewn together, I clipped the neck and armhole edges to release the seam allowances. I applied the nylon tricot seam finish except I stretched the cut edge of the seam allowance to allow the seam finish to spread once it is turned to the wrong side. By sewing the seam finish on a straight edge, even though the neckline and armholes are curved, it sets the spread in the cut edge of the seam allowance and makes it turn perfectly. The stay stitching keeps the seam from stretching out of shape.
I basted all the turned seam finishes at the neck and armhole edges and turned up the hem in the same manner. Handwork later.
So now I will have another delightful sleeveless top to wear while I’m teaching next week at Harrisville Designs in NH.
For more on sewing with Handwovens, check out my pre-recorded class on Weavolution.com.
Stay tuned…
Very very nice………and why not have several iterations of the same pattern? Esp when they fit so nicely!
Gorgeous! Thank you so much for including all that detail. I learned a lot in this post. I also loved your use of the word “ravelry” – best website in the world in my humble opinion.
Oops! My bad… Must have been Ravelry on my mind… I’ve only spent the last three hours looking at patterns for a new sweater…
No need to ask how you know about side seam zippers and airport security! I’m hoping to get some summer tops sewn, too. But they will be for next summer now. This year was just way too busy. Thanks for the tutorial.
Cheers
Laura
Daryl, I’ve been thinking about your sweater. This one comes close to gauge and I think it could be adapted.
http://www.knitty.com/ISSUEdf11/PATTboyfriend.php
P.S. Sleazy never looked so good.
Perfect for the weather we are having in NH now!
I was in the hospital reading this and was a great read Daryl. Thank you. I am the little engine that “WILL” make it up that hill. Thank you.
Side zippers, Yup! I remember dresses with side AND back zippers