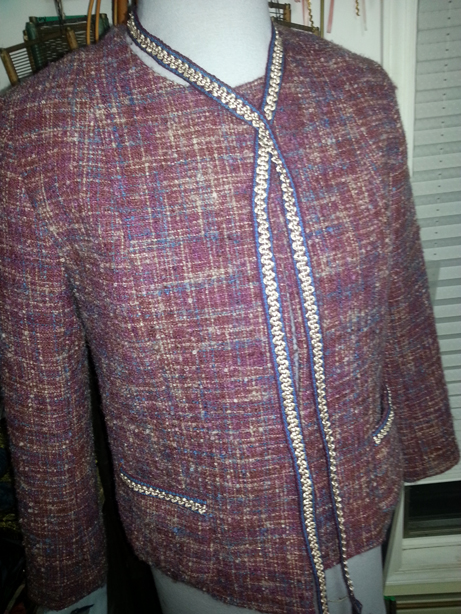
After much grinding and gnashing of teeth and numerous distractions, the jacket is complete. And as a teaching tool it is pretty great. There are a lot of techniques illustrated in this jacket that I don’t have in others. And the more techniques I can pack into a little garment the easier it is for packing purposes. So the jacket turns out was a complete success.
 [1]
[1]
The style isn’t really me, I prefer my garments a lot more fitted, but a boxy Chanel jacket isn’t suppose to be really fitted, it is just that, boxy. But I finally put in a “bagged” lining, that was the whole point of this exercise, and documented it and finished up my extensive presentation on the whole facings/interfacing/lining/underlining/interlining thing for the ASG conference next week in St. Louis, and managed to ship everything out on Tuesday.
Can I say how much I have needed/used my daughter’s help these last few weeks? She is right on a task, figures out how to do it, and glares at me if I try to get involved. And she usually does it perfectly, more often better than I would have. Which is saying a lot.
Can I also say that as much aversion as I’ve had to the “machine” way of doing things, to avoid handwork, because I love handwork and think it is ultimately the best way to do anything in sewing, I actually enjoyed “bagging” the lining. For those who have no idea what I’m talking about, and didn’t read my previous blog post, “bagging” a lining is an industry technique for applying a lining almost entirely by machine. Trained by a tailor, I do things mostly by hand, better accuracy and control, and in some cases I think faster, but I’m good after doing this for 50 years. There is, as I said in my last post, an element of spacial acuity, and some alligator wrestling involved trying to pull the garment through the opening in the lining in one sleeve and it was a b**** to document in photos, but the whole experience was sort of like a complex puzzle, and I like puzzles. I actually got some grand satisfaction for having figured it out and the end result was pretty perfect. If I say so myself.
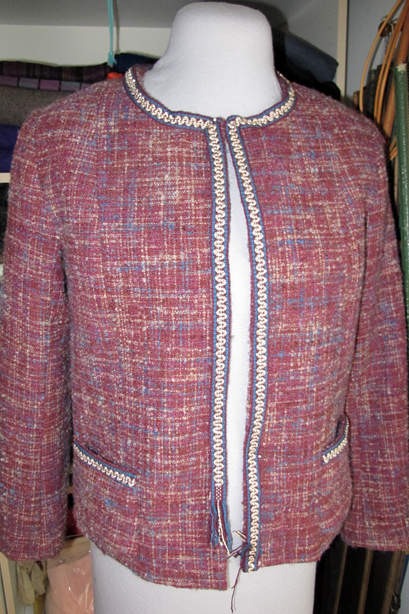
Meanwhile, I got the proofs for my next article in the October/November issue of Threads Magazine, “Weave Custom Trims”. The article is on weaving trim for garments like a Chanel Jacket, and as I was doing the final drafts, I knew I needed another example of hand woven trim in use in a jacket, it wouldn’t make this article, but for future lectures, it was definitely on the list.
So this little jacket, besides a bagged lining, features handwoven trim. I documented the sampling for that trim in the last post, just scroll down, but had to weave like crazy to get enough for the pockets, since they had to go on first, before the lining, and I had a deadline for that. Then I set up the loom, and wove the maximum length on the little Inklette, which was about two yards. I did a quick calculation and it should have been enough to go down both fronts and around the neckline in one piece.
 [2]
[2]
And when it came off the loom, a quick check showed it did. With an inch or two to spare. Except I needed to pre-shrink the trim.
 [3]
[3]
When it dried, I was horrified to find out it shrunk so much the trim was about four inches short. Which really surprised me since the main yarns I used, were hand dyed raw silk, and they were rinsed like crazy when I first dyed the skeins.
 [4]
[4]
So yesterday I had to rewarp the little loom once more, and weave another 28″ or so, I wasn’t taking a chance on it shrinking too much again, and actually it was probably a good thing, because I could shape the trim into a neckline shape, as it was drying, which made applying it (by hand) a cinch.
 [5]
[5] [6]
[6]
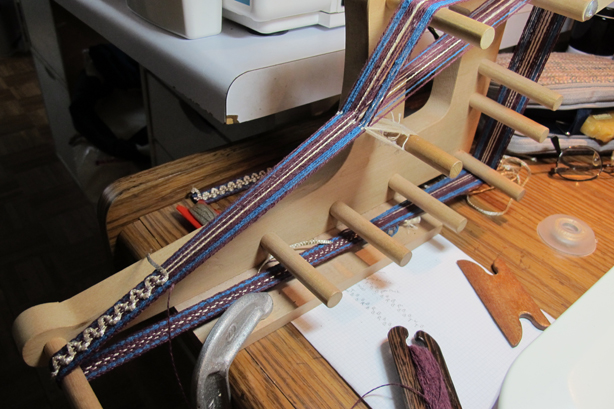
And I wanted to show how to cover a snap, using snaps as closures is pretty common right now, the closure du jour as it were, and I needed a sample of that as well. Plus using the edging of a sari when used for a lining. I covered it all in this little piece.
 [7]
[7]
Meanwhile, my garden is overflowing, the first little tomato was ripe enough to pick this afternoon, there are probably 40,000 out there, I don’t know what my husband was thinking when he put in all those cherry tomato plants, but the cucumbers are coming in by the dozen. He planted three types, but the most prolific are the Kirby’s, great for pickling, but all my canning gear was turned over to the dye studio a long time ago, and so refrigerator pickles it is. Simple, but I’ve done two batches like this in the last few days… Between the wine and beer in the downstairs refrigerator, there isn’t much room now.
 [8]
[8] [9]
[9]
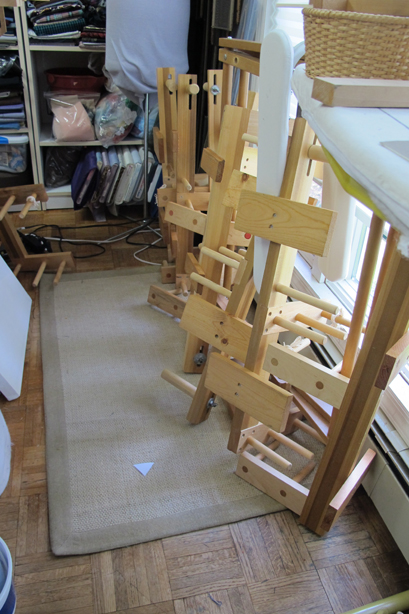
And I got a call from Peters Valley about teaching fibers to a High School class the beginning of August, not much time to prepare, since I’ll be in St. Louis next week, but I’ve got my competent daughter on it, and she has been polishing my stash of full size inkle looms, (all the Inklettes were shipped to St. Louis and will be available for purchase) so I need to employ my stash of regular inkle looms for the fibers class, along with prepping frame looms for tapestry and winding warps for the shaft looms. We are a busy little factory here it seems. Pickles and Inkles… Sounds like an 80’s rock group…
 [10]
[10]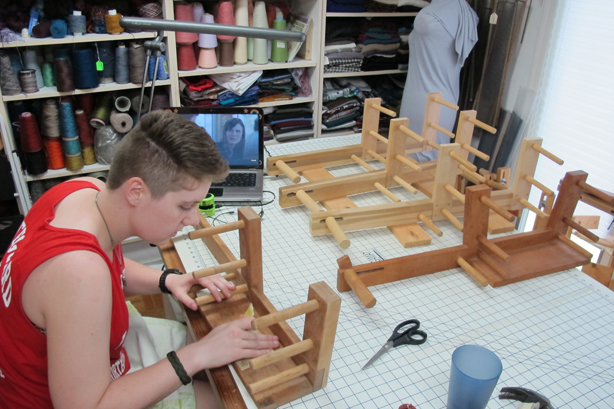 [11]
[11]
Tomorrow morning we are off to see some great fiber exhibits, starting with Fiber International up in Lowell, MA at the Textile Museum, followed by the Fuller Craft Museum in Brockton, MA, and then gallerys and museum exhibit in Providence RI, final stop Convergence. I’m so looking forward to taking my daughter around the vendor hall and the exhibits at a fiber conference. It will be tough, since I know so many people, and we only have one day, so if I cut conversations short, don’t take it personally, I’ll have my daughter and my dear friend Carol Westfall with me and we will be nose deep in fibers…
Stay tuned…